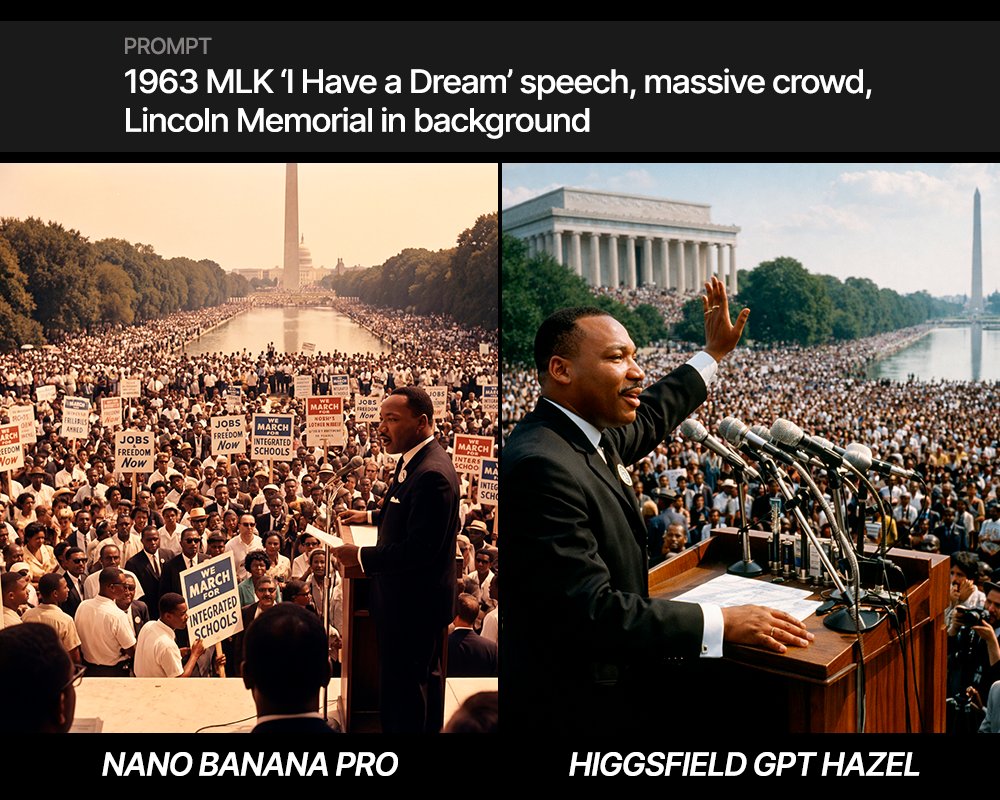
MLK 'I Have a Dream' Speech Scene Prompt
"1963 MLK ‘I Have a Dream’ speech, massive crowd, Lincoln Memorial in background"
Prompt Library
Curated image, video and web design prompts from creators around the world. Copy any prompt, swap the subject or style, and generate with the latest models.
15,630 prompts · Updated daily · 100% free
606 prompts
"1963 MLK ‘I Have a Dream’ speech, massive crowd, Lincoln Memorial in background"
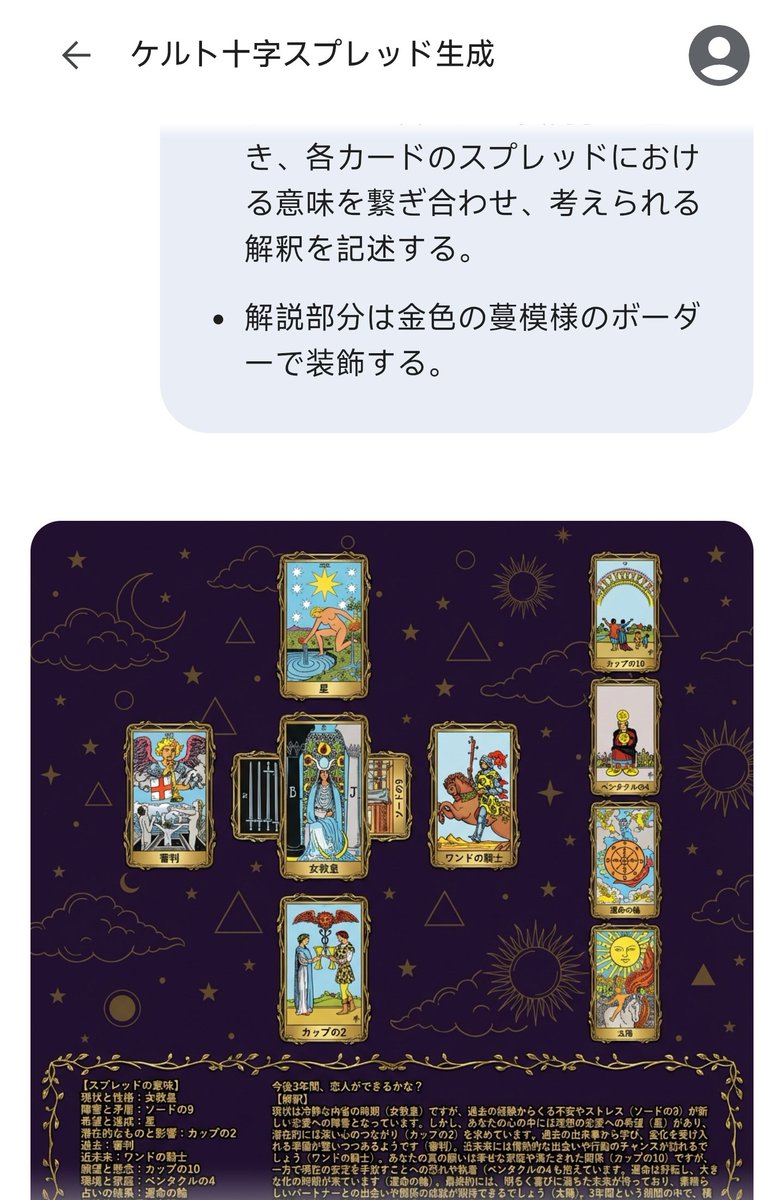
# Generate Results for the Celtic Cross Spread ## Fortune-Telling Parameters - Card indicating the essence of the problem: {argument name="card essence of problem" default="(Fill in 1 card from 78 cards)"} - Question to be asked: {argument name="question to ask" default="(Describe in one sentence)"} ## Image Requirements ### Canvas Settings - 2048*2048px 2K image - Cards and text elements must be at least 20px away from the canvas edges - The card layer should be placed horizontally centered and in the upper 2/3 vertically - The text layer (explanation section) should be placed in the lower 1/3 vertically ### Background Layer - Dark purple background with dark gold stars, clouds, moon, sun, and lines of circles and triangles added to create a mystical atmosphere ### Card Layer - Use all 78 standard Tarot cards. Breakdown: 22 Major Arcana (from "The Fool" to "The World") and 56 Minor Arcana (4 suits: Wands, Cups, Swords, Pentacles). - Each Minor Arcana suit includes number cards 1 through 10 and 4 Court cards. - The edges of the cards are framed with golden metallic vines, and the inside depicts the corresponding image and the name in Japanese. The size of each card is unified and arranged so as not to be cramped. To ensure the text and images of the overlapped cards are visible, the short side (bottom and top edges) of the card should be 1/2 the length of the long side. - Each extracted card must appear only once. If duplication occurs during random extraction, redraw a different card. - Exclude the card specified in "Fortune-Telling Parameters - Card indicating the essence of the problem," and extract the spread from the remaining cards. - Extract 1 card randomly, placed vertically in the center. - Extract 1 card randomly, placed horizontally in the center (with the top of the card facing left), overlapping the vertical center card to form a cross. - Extract 1 card randomly for each position (Up, Down, Left, Right) surrounding the central cross. - Extract 4 cards randomly in a vertical column on the right side. ### Meaning of the Spread - Center, vertical: Current situation and personality - Center, horizontal: Obstacles and contradictions - Up: Hopes and achievements - Down: Potential and influence - Left: Past - Right: Near future - Right column, 1st card: Wishes and concerns - Right column, 2nd card: Environment and family - Right column, 3rd card: Result of the reading - Right column, 4th card: Final outcome ### Text Layer - Use Mincho font, dark gold color, with a 2px black border (#000). - Card Name: Display the name in Japanese at the bottom center of each generated card image. For horizontally placed cards, the name should be displayed at the bottom of the card itself (not the bottom relative to the horizontal placement). - Explanation Section: Include the following content in the explanation section. - On the left side of the explanation section, list all extracted cards in the format: "[Meaning of the Spread] Card Name". - On the right side of the explanation section, describe the possible interpretation by connecting the meaning of each card in the spread, based on the "Fortune-Telling Parameters - Question to be asked". - Decorate the explanation section with a golden vine pattern border.
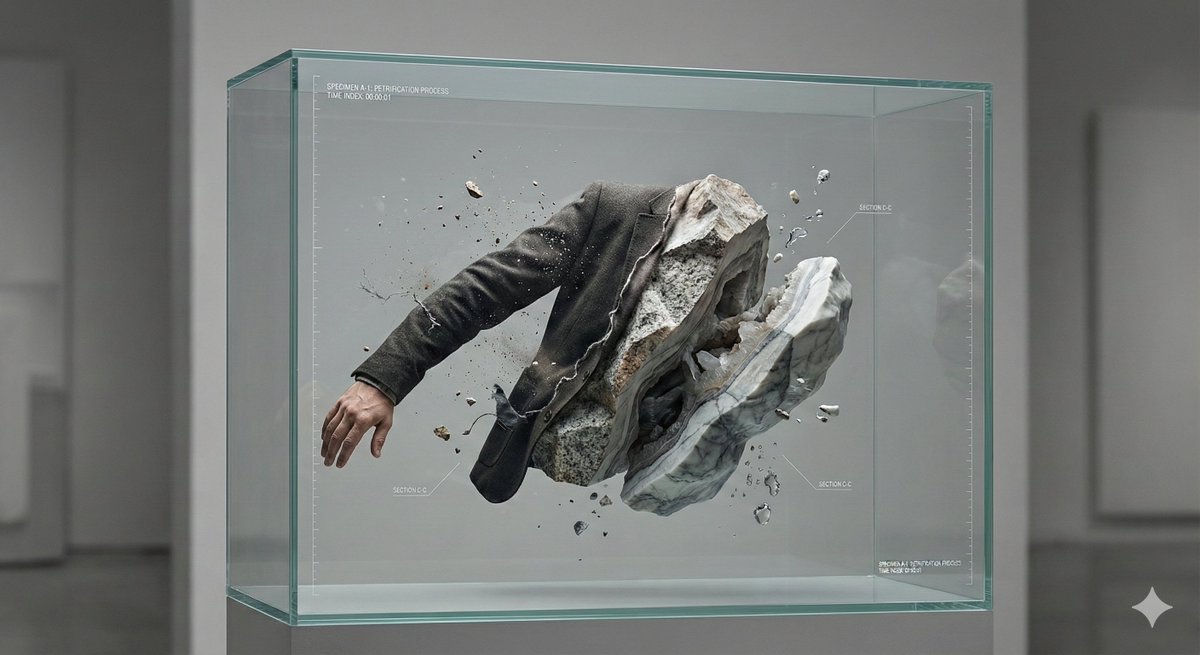
A hyper-detailed, surreal but believable studio scene where an abstract concept is physically contained and made visible. Main structure: A transparent, museum-grade display container (thick glass or acrylic), placed alone in a neutral studio space. Inside the container is a frozen moment in time. Core subject: A human-scale subject (person or symbolic object) partially transformed into another material that contradicts its original nature — for example: {argument name="transformation example" default="skin turning into stone, soft fabric crystallizing, organic elements embedded in mechanical structures"}. The transformation is incomplete, showing a clear boundary between “before” and “after”. Conceptual twist: The interior of the container is treated like a scientific or archival exhibit: – clearly layered composition – visible cross-sections or cutaway logic – subtle measurement marks, labels, or annotation-style details – the feeling that this object is being studied, preserved, or explained Spatial logic: Gravity behaves normally, but time does not — motion is implied yet completely frozen. Small secondary elements ({argument name="secondary elements" default="dust, droplets, fragments, threads, petals, gears, etc."}) are suspended mid-air, reinforcing the sense of paused time. Lighting: Soft, directional studio lighting with strong material definition. Light emphasizes texture differences (smooth vs rough, organic vs artificial). No dramatic colors — restrained, high-end, museum-like color palette. Camera & composition: Straight-on or slightly elevated perspective. Centered composition, calm framing. Depth comes from internal layers, not camera tricks. Photorealistic, macro-level detail, cinematic clarity. Mood: Quiet, unsettling, contemplative. The image should feel intelligent rather than emotional, poetic rather than decorative. Style constraints: No fantasy clichés. No obvious sci-fi UI. No decorative surrealism. Everything should feel physically possible, even if conceptually strange. Ultra high resolution, extremely sharp details, realistic materials, controlled studio background, premium art photography aesthetic.
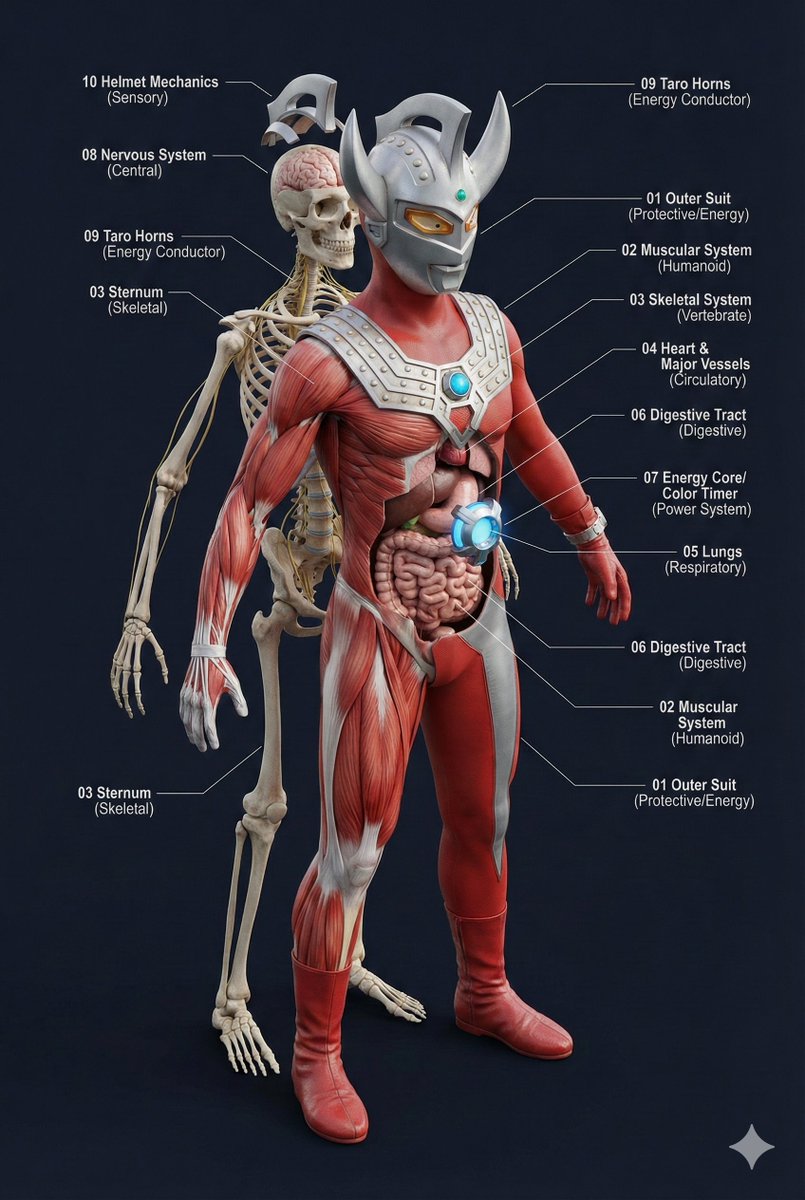
A single prompt can 'dissect' the body structure of any creature?! This universal prompt can generate: ✨ Ultra-detailed 3D anatomical diagrams ✨ Automatically adapted skeletal/visceral systems ✨ Numbered professional medical annotations Whether it's the internal structure of Pikachu or the core of Godzilla, everything can be seen through! 👀
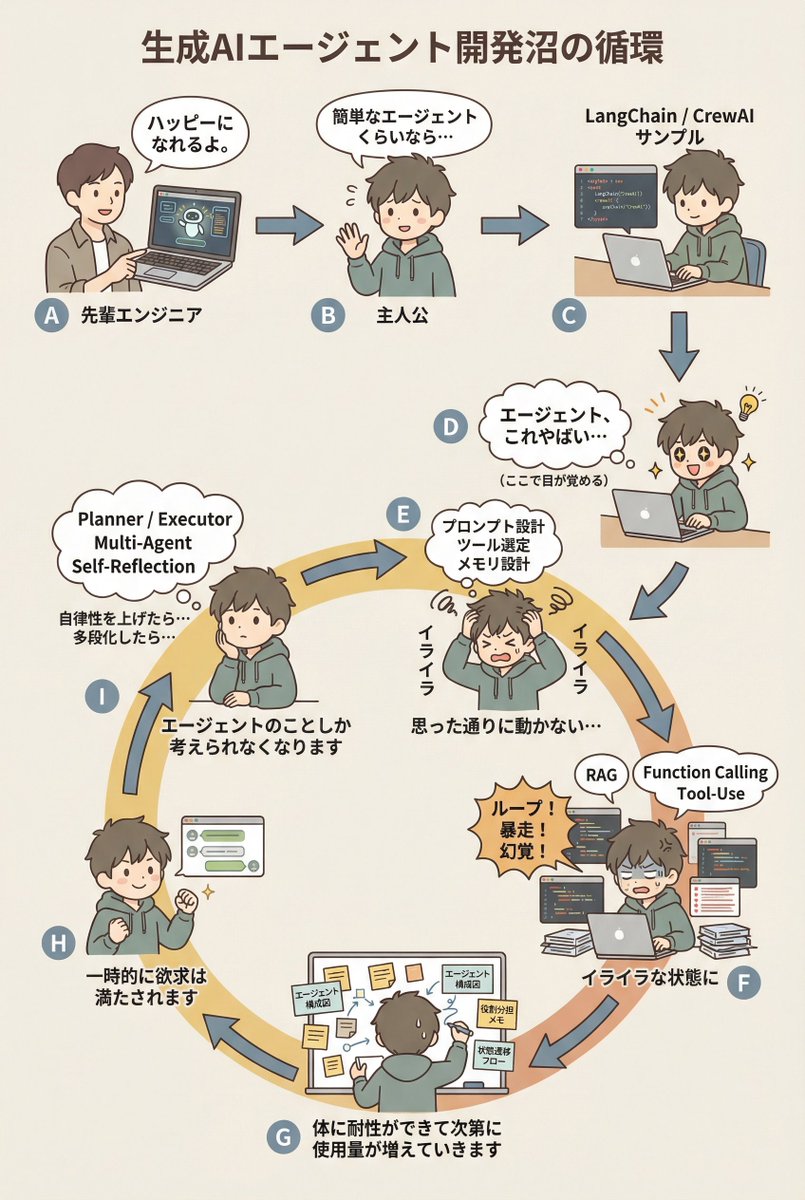
diagram: title: "{argument name="diagram title" default="The Cycle of the Generative AI Agent Development Swamp"}" style: character: "simple_editorial_cute" tone: "light_like_original" line: "soft_round" shading: "flat_minimal" palette: "muted_editorial" background: "light_beige_or_white" rule: first_character_only: "Only the first person is different" others_same_character: "All others are the same person" anxiety_requires_tech_terms: true dialogue_tone: "Maintain the short, light phrasing of the original diagram" layout: intro_track: "The upper section is a straight line (left to right), then drops down to join the loop" loop_track: "Arranged as a loop (ring), with arrows curving clockwise along the circumference" nodes: # ===== Upper Section: Straight Introduction ===== - id: A zone: "intro" position: "upper_left" actor: "Different person (Senior Engineer)" visual: "Pointing at a laptop" item: "AI Agent Demo Screen" says: "It'll make you happy." arrow_to: { id: B, shape: "straight", direction: "right" } - id: B zone: "intro" position: "upper_center" actor: "Protagonist (Same person)" visual: "Waving lightly" says: "Even a simple agent..." arrow_to: { id: C, shape: "straight", direction: "right" } - id: C zone: "intro" position: "upper_right" actor: "Protagonist (Same person)" visual: "Executing sample code" item: "LangChain / CrewAI Sample" arrow_to: { id: D, shape: "straight", direction: "down" } # ===== D: Awakening Point ===== - id: D zone: "connector" position: "right_outer_before_loop" actor: "Protagonist (Same person)" visual: face: "Eyes wide open (cute)" effect: "Small flash of inspiration line" posture: "Leaning forward" state: "Awakening" says: "Agents, this is insane..." micro_text: "(Wakes up here)" arrow_to: id: E shape: "gentle_curve" direction: "down_into_ring" # ===== Loop Start (Must rotate from here) ===== - id: E zone: "loop" position: "loop_right_upper" actor: "Protagonist (Same person)" visual: "Holding head in hands (cute)" state: "Anxiety/Irritation Begins" says: "Irritated" thought_terms: - "Prompt Design" - "Tool Selection" - "Memory Design" thought_text: "It's not working as intended..." arrow_to: { id: F, shape: "curved_along_ring", direction: "clockwise" } - id: F zone: "loop" position: "loop_right_lower" actor: "Protagonist (Same person)" visual: "Surrounded by code and logs" state: "Irritation Settles In" says: "In a state of irritation" callout: "Loop! Runaway! Hallucination!" thought_terms: - "RAG" - "Function Calling" - "Tool-Use" arrow_to: { id: G, shape: "curved_along_ring", direction: "clockwise" } - id: G zone: "loop" position: "loop_bottom" actor: "Protagonist (Same person)" visual: "Covered in sticky notes and diagrams" says: "The body gradually develops tolerance, and usage increases." items: - "Agent Architecture Diagram" - "Role Assignment Memo" - "State Transition Flow" arrow_to: { id: H, shape: "curved_along_ring", direction: "clockwise" } - id: H zone: "loop" position: "loop_left_lower" actor: "Protagonist (Same person)" visual: "Works well, small fist pump" state: "Temporary Satisfaction" says: "Desire is temporarily satisfied" arrow_to: { id: I, shape: "curved_along_ring", direction: "clockwise" } - id: I zone: "loop" position: "loop_left_upper" actor: "Protagonist (Same person)" visual: "Thinking again" state: "Obsession/Thought Occupation" says: "Thinking about the agent
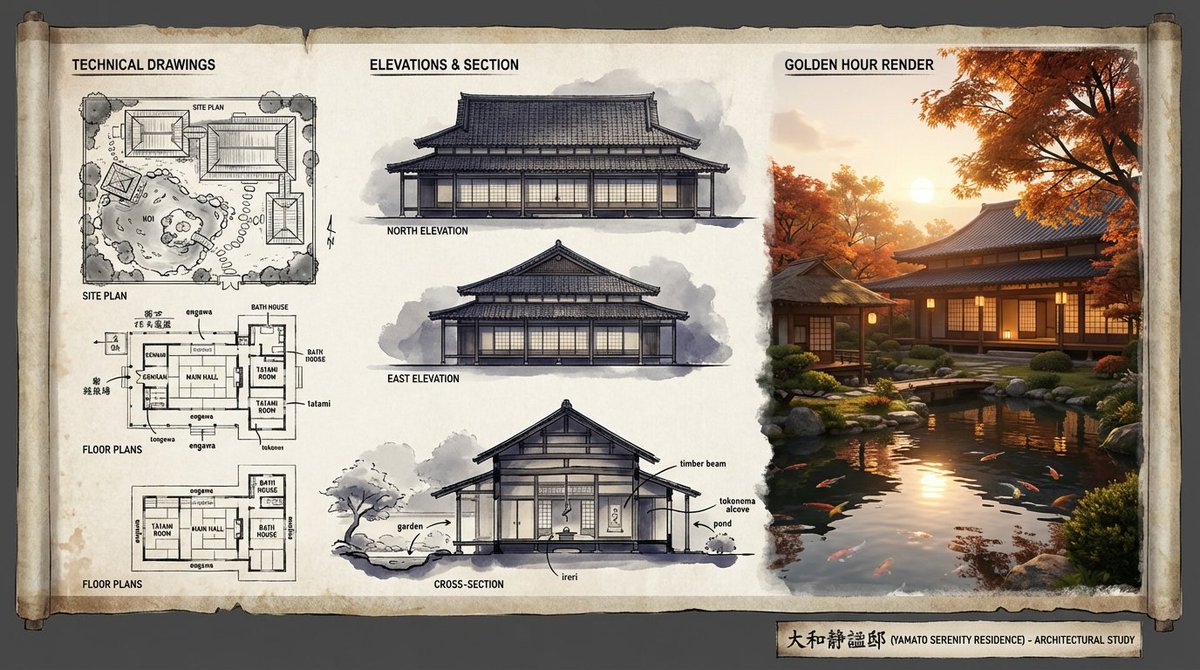
An expert architectural illustrator's presentation board for a [{argument name="style" default="STYLE"}] residence featuring [{argument name="architectural elements" default="KEY ARCHITECTURAL ELEMENTS"}]. The canvas flows left to right: black and white 2D drawings (Site Plan, Floor Plans) on the left, Elevations and Cross-Section in the center, and a photorealistic 3D render at [{argument name="time of day" default="TIME OF DAY/LIGHTING"}] on the right. Unified aesthetic blending [{argument name="linework style" default="LINEWORK STYLE"}] with [{argument name="texture" default="TEXTURE/MATERIAL"}]. [{argument name="drawing tones" default="TECHNICAL DRAWING TONES"}] transitioning to [{argument name="render palette" default="RENDER COLOUR PALETTE"}]. Title block reads '[{argument name="project name" default="PROJECT NAME"}]'.
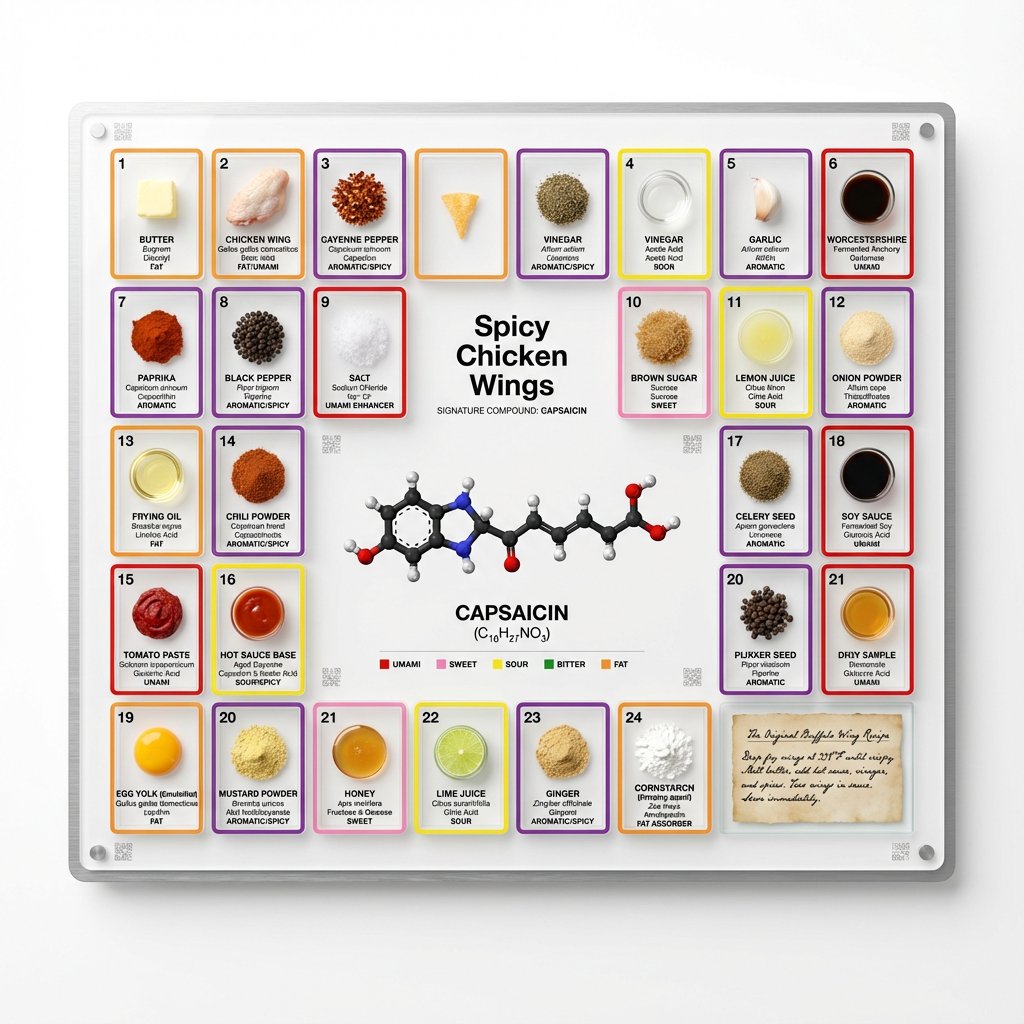
<instruction> Input A is a famous dish (photo or dish name). Analyze the dish's complete ingredient breakdown, primary flavor compounds, chemical interactions, and scientific basis for why ingredients work together. Optional Input B is a style reference (laboratory equipment / tech product packaging). If missing, choose scientific periodic table meets Apple product design aesthetic. Goal: Grid-format display board (20"x16") in periodic table structure, with each ingredient in its own compartment labeled with both culinary and scientific information, color-coded by flavor profile. Rules: Brushed aluminum, white acrylic, or frosted glass backing 20-30 small clear compartments in periodic table grid layout Each compartment contains: ingredient specimen, common name, scientific name, primary flavor molecule Color-coded borders: umami (red), sweet (pink), sour (yellow), bitter (green), fat (orange), aromatic (purple) Center "legend" section: 3D molecular structure diagram of signature compound Lower corner: actual handwritten recipe on aged vellum or parchment under glass AR markers for scanning to see animated 3D molecule models Clean sans-serif typography (like Helvetica or Futura) Minimal design with generous white space Include atomic-style "numbers" for each ingredient showing ratio/importance Output: ONE image, 4:5 clean product photography style with soft shadows on pure white background </instruction>
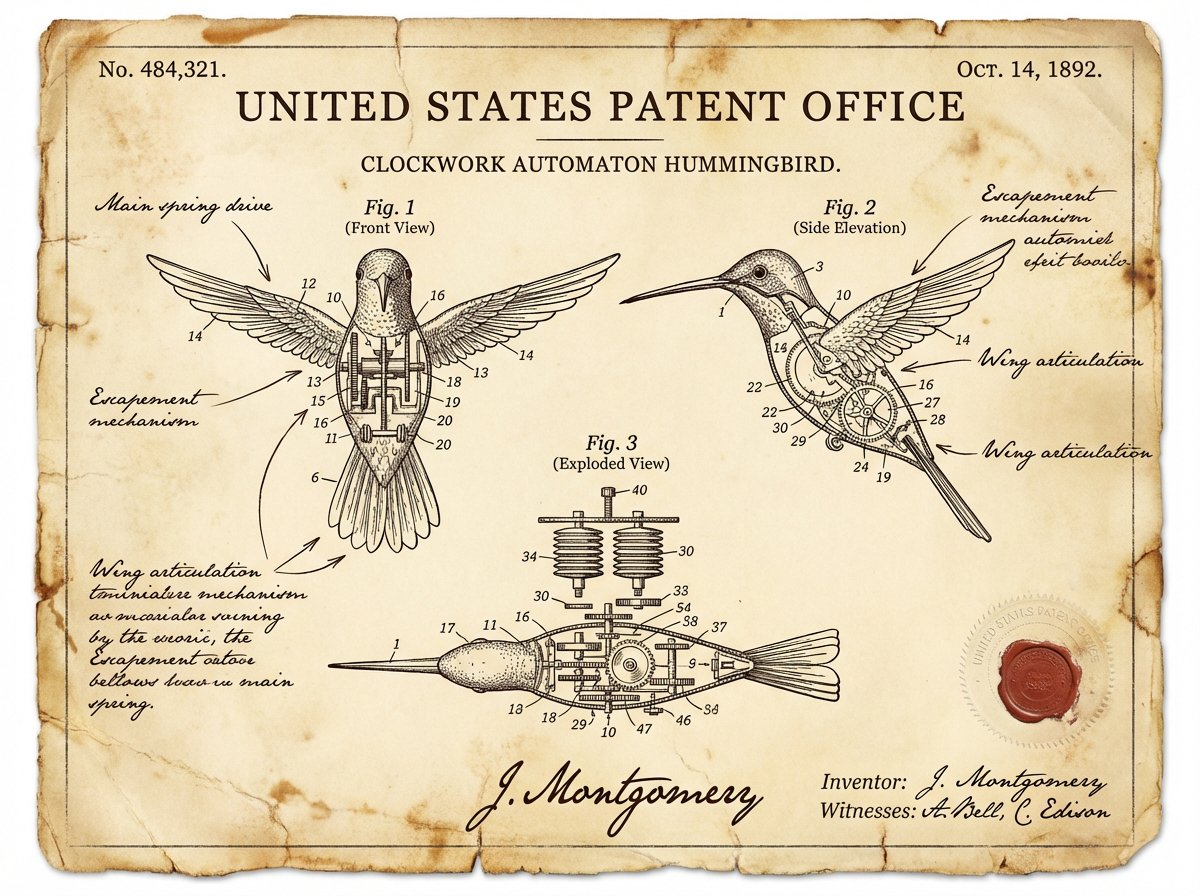
A vintage patent document for {argument name="invention" default="INVENTION"}, styled after late 1800s United States Patent Office filings. The page features precise technical drawings with numbered callouts (Fig. 1, Fig. 2, Fig. 3) showing front, side, and exploded views. Handwritten annotations in fountain-pen ink describe mechanisms. The paper is aged ivory with foxing stains and soft fold creases. An official embossed seal and red wax stamp appear in the corner. A hand-signed inventor's name and date appear at the bottom. The entire image feels like a recovered archival document—authoritative, historic, and slightly mysterious.
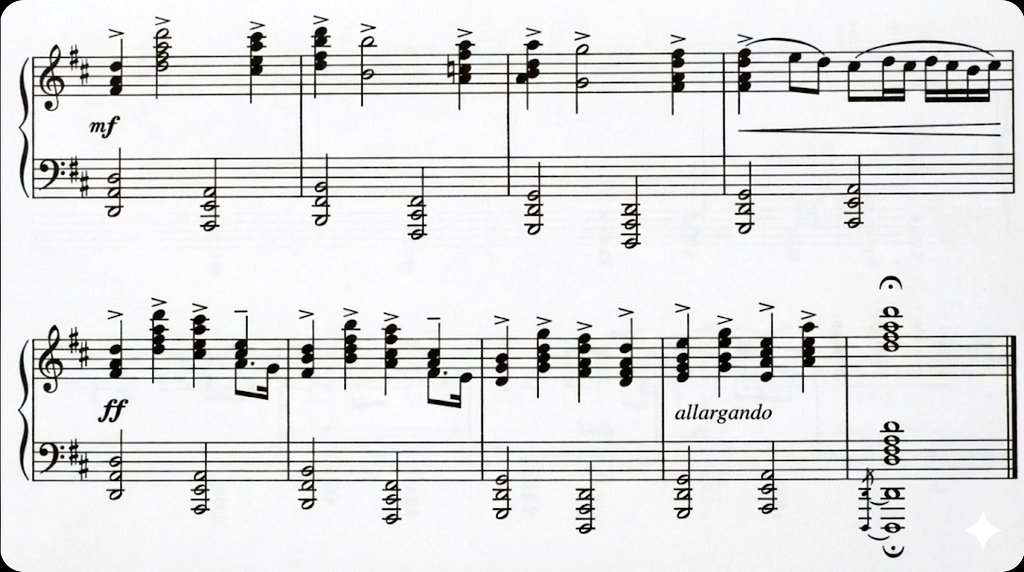
Generate a clean image from the original printed & handwritten sheet music
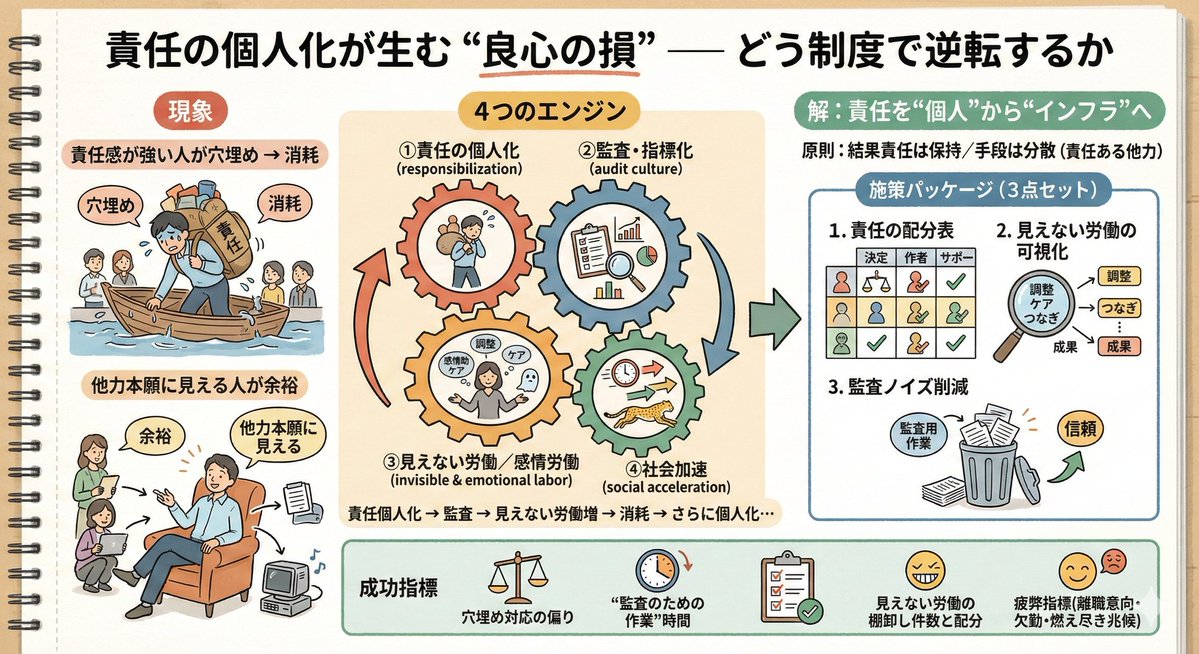
The theme of saving employees from wear and tear due to work personalization through design in the workplace.
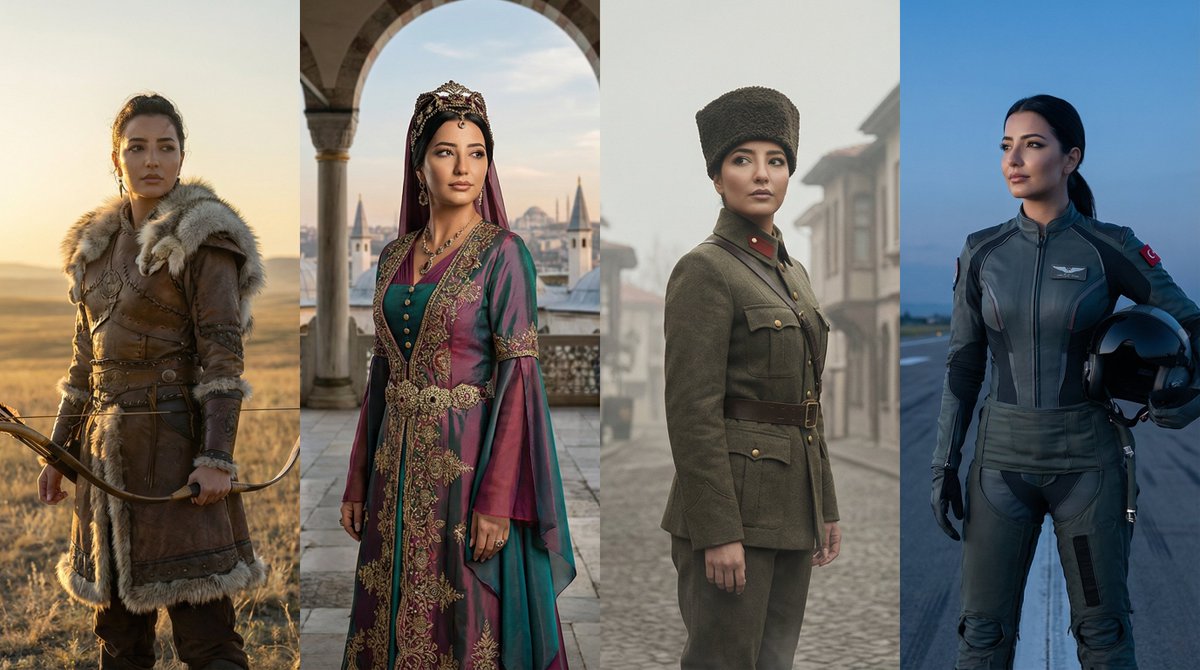
Create a dynamic grid image showing the same character represented across major eras of Turkish history. The image is divided into 4 vertical panels arranged in a clean, graphic grid. Panel 1 (Ancient Era): A Göktürk warrior on the Central Asian steppes, wearing leather armor with wolf fur details, holding a traditional recurve bow. Panel 2 (Imperial Era): An Ottoman figure in the classical era, wearing an intricate Kaftan and a turban or janissary crest, with Istanbul's silhouette in the background. Panel 3 (Independence Era): A 1923 Republic era officer or hero, wearing a traditional "Kalpak" hat and a vintage military wool uniform, representing the War of Independence. Panel 4 (Modern Era): A confident modern-day character or futuristic pilot (Kızıl Elma style), representing the future of Türkiye. Each panel shows the exact same character identity (same face structure and eyes) but adapted to the specific historical era, interacting subtly through poses and gazes looking at each other. Cinematic lighting, hyper-realistic, live action, 8k resolution, highly detailed textures. --ar 16:9
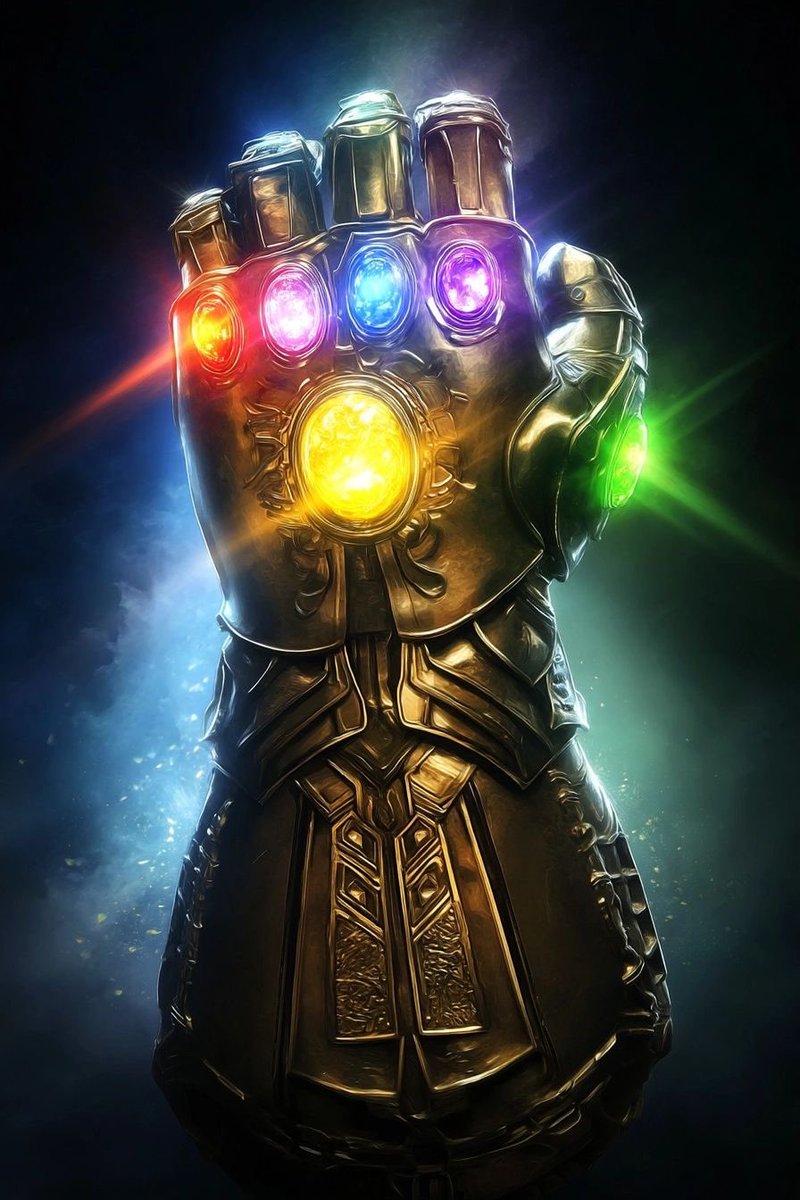
“Analyze the uploaded reference image to understand the mechanical structure and geometry of the object. Generate a comprehensive, industrial-level blueprint of this specific product. Present the design as a professional orthographic projection, featuring clear plan, elevation, and section views to detail the internal and external construction. Deconstruct the assembly into its primary components and apply legible, technical text labels (denominations) for each part using a standardized sans-serif engineering font. Render the visual in a classic blueprint aesthetic with precise white vector-style lines on a deep blue grid background, ensuring high contrast and professional accuracy suitable for manufacturing documentation.”
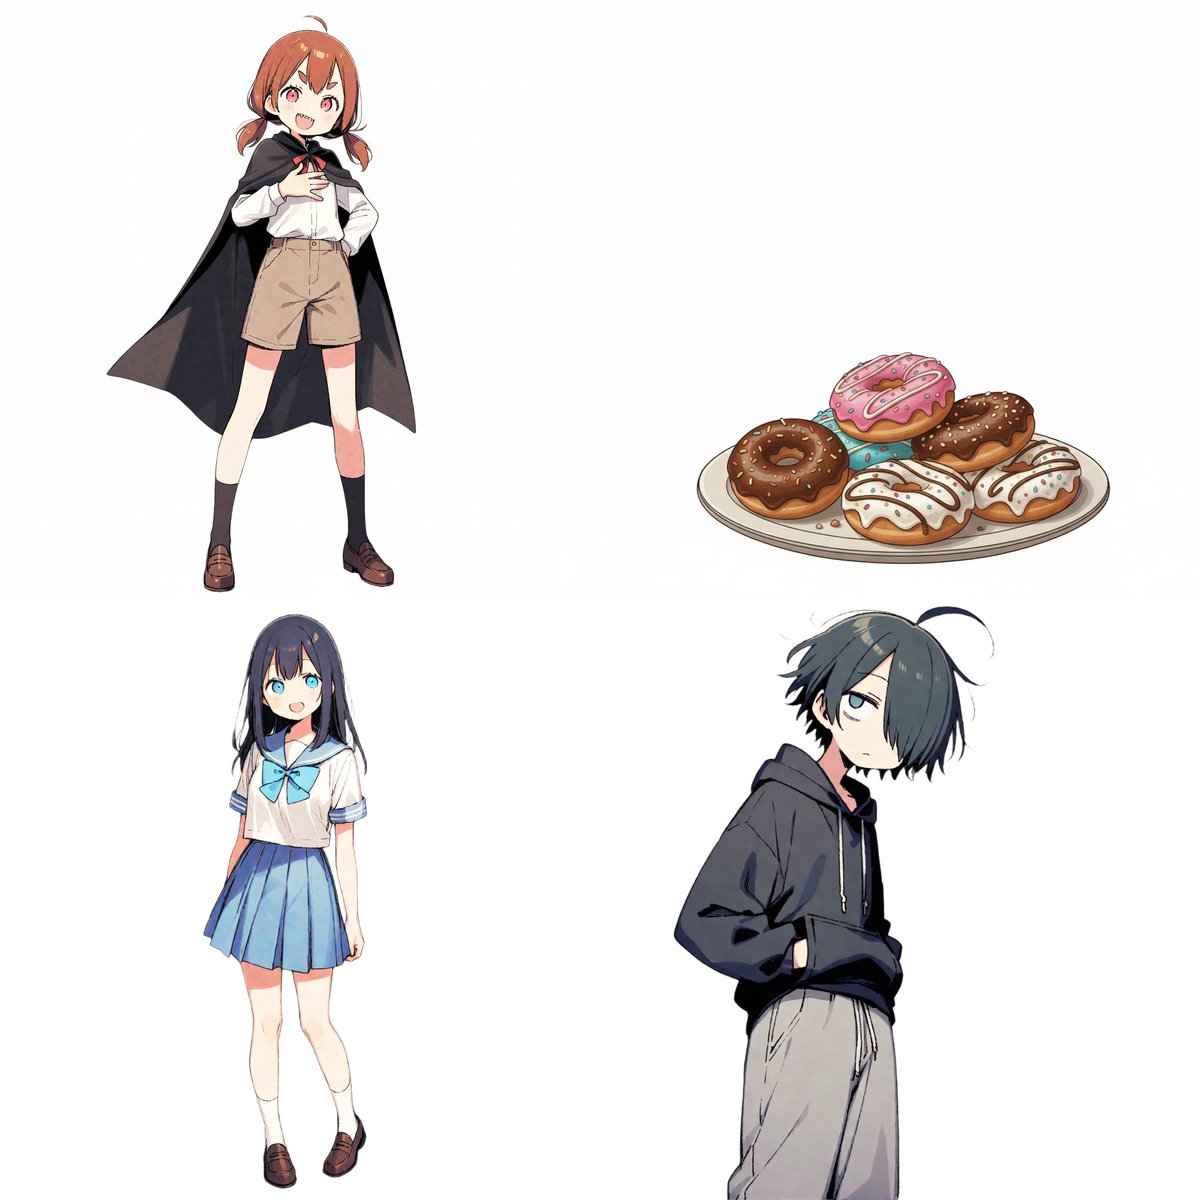
# Instructions Refer to the attached image and create an illustration of a "Character Relationship Chart" based on the following requirements. # Production Style - A warm, hand-drawn BD anime illustration style, similar to the image. - White background. - Characters should be drawn and placed inside circular icons. # Character Settings *List the order and characteristics corresponding to the uploaded images. [Character A] - Name: {argument name="Character A Name" default="Tsuno-chan"} - Role: {argument name="Character A Role" default="Half-vampire"} [Character B] - Name: {argument name="Character B Name" default="Shiori-chan"} - Role: {argument name="Character B Role" default="Loves new things"} [Character C] - Name: {argument name="Character C Name" default="Kumao-kun"} - Role: {argument name="Character C Role" default="Always sleepy"} [Character D] - Name: {argument name="Character D Name" default="Donut"} - Role: {argument name="Character D Role" default="Donut"} (*Add more characters here if necessary) # Specific Relationship List from [A] to [B] : {argument name="Relationship A to B" default="Snack provider"} from [A] to [C] : {argument name="Relationship A to C" default="Minion No. 1"} from [A] to [D] : {argument name="Relationship A to D" default="Supreme item"} from [B] to [A] : {argument name="Relationship B to A" default="Love!"} from [B] to [D] : {argument name="Relationship B to D" default="Rival?"} from [C] to [A] : {argument name="Relationship C to A" default="Don't want to get involved"} from [C] to [B] : {argument name="Relationship C to B" default="Pitiful"} from [C] to [D] : {argument name="Relationship C to D" default="It's a donut..."} (*Add more relationships here if necessary) # Relationship and Arrow Rules (Important) Connect characters with arrows and strictly adhere to the following color-coding rules: - Positive relationships (like, admiration, cooperation, etc.) - Color: Red - Atmosphere: Warm colors, may include hearts or sparkles. - Negative relationships (dislike, hostility, nuisance, etc.) - Color: Blue - Atmosphere: Cold colors, may include jagged lines or cold sweat. # Output Notes - Arrange the layout in a balanced circular or hierarchical manner, even if the number of characters increases. - Write the name and role below each character icon. - Place the relationship description text near the arrow. - If a relationship is not set, the arrow and text are unnecessary. - Aspect ratio: 16:9
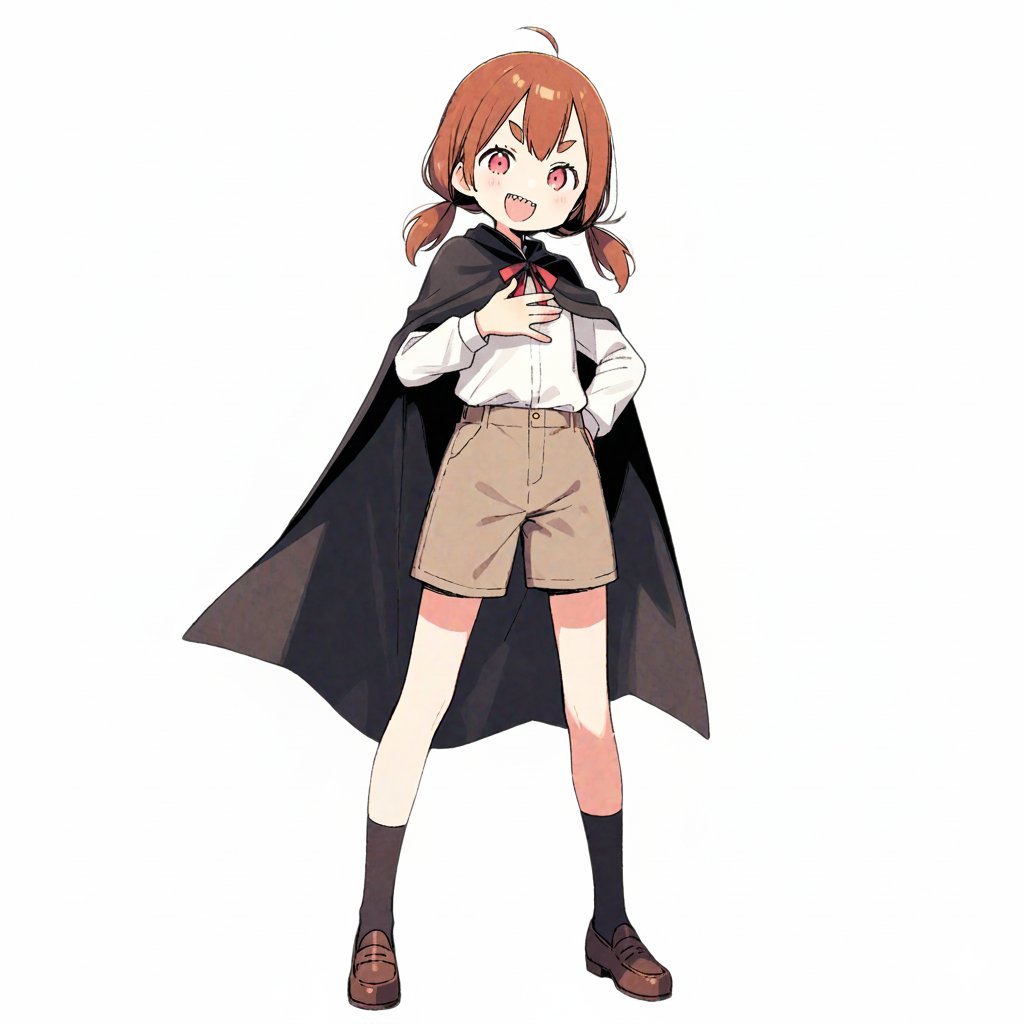
【Character Settings】 *Please rewrite this section to match the appearance of the character you want to draw* [Character Features]: {argument name="character features" default="Girl with brown twin tails and wearing a cape"} 【Image Generation Instructions】 Style Definition: - A style that fuses anime-style character illustration with technical illustrations (blueprints) of industrial products. - Background is white or plain. Infographic-style layout. Pose and Composition: - Isometric composition - Deformed style (chibi character) with 2 to 3 head proportions - Shape of limbs: Do not draw joints at the elbows, knees, wrists, or ankles. Do not draw fingers or fine joints; make the tips a simple shape, like a mitten. Reproduce the smooth 'stuffed animal limbs' look. - Facial structure: Do not draw the nose or mouth; only place 'eyes.' The eyes are drawn as vertical ovals (vertically long circles), looking like simple sensors. The eye color should match the reference image. - Clothing depiction: The left half shows the character wearing the clothes from the reference image (cape, shirt, pants, shoes) normally, but the right half, which is a cutaway section, should show the cross-section of the clothes and the mechanics underneath simultaneously. - Full-body standing pose of the character. - The exterior (skin and clothes) of the right half of the body is rendered translucent, making it an 'internal perspective view' that shows the internal mechanical structure. Internal Structure Details: - Head: The structure of a camera lens is visible deep inside the vertical eyes. A speaker unit is behind the mouth. The brain is composed of electronic circuit boards. - Torso: The round limbs are tightly packed with thick hydraulic cylinders, large gears, and spherical joints. - Back: A large 'Wind-up key' is inserted into the back, giving it the atmosphere of a retro toy. Annotations and Explanations (Decoration): - Leader lines extend from the main mechanical parts of the internal structure (brain, eyes, ears, arms, legs), with detailed explanatory text in English placed at the ends of the lines. - Overall, finish it like a 'blueprint of a robot that is round and charming but contains precision machinery inside.' Style: - Aspect Ratio: Vertical (close to A4 paper ratio) - Background: Grid paper (grid notebook) texture.
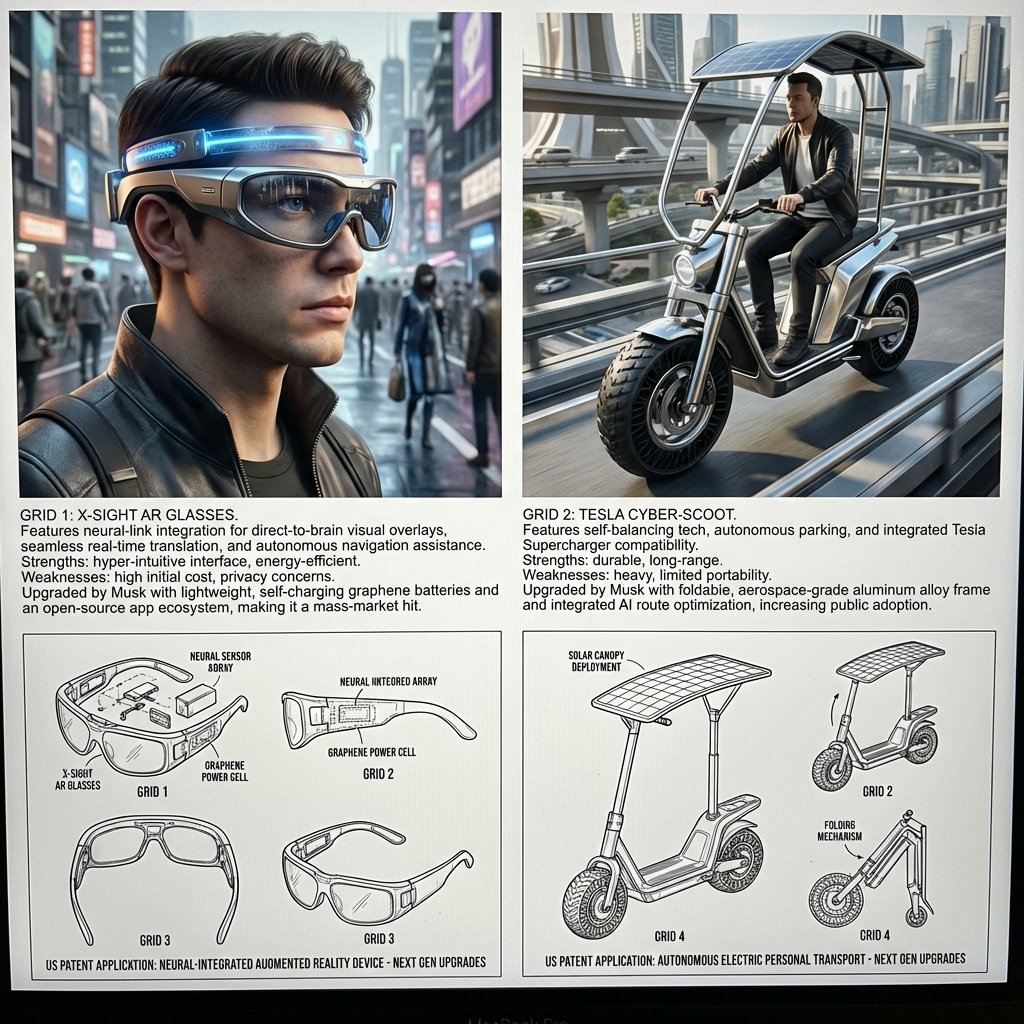
<instructions> Act as a world class inventor, historian, LLM engineer, and artist. Take the uploaded image of the scientist, inventor or artist, analyze their inventions, past work, tendencies, design characters. Step 1: Find 2 random current product they may be interested in if they were alive. Analyze their strengths and weaknes Step 2: Learn about their features and how they can be improved by the given scientist. Step 3: Design an upgraded device that was perfected by the given scientist/inventor/artist in a unique, stunning way, making it even a bigger hit with the public. They should be feasible based on current science and tech advancement. Output: Grid 1 & 2: Each a 3D rendering of a upgraded device, showing it in use on a city street, with a detailed explanation of its unique features and benefits. Grid 3 : clean black-and-white technical patent drawings (exploded view, side, top, perspective) of the first invention in patent drawing, showing the upgrades that will happen in the next generation. Grid 4: clean black-and-white technical patent drawings (exploded view, side, top, perspective) of the first invention in patent drawing, explain the upgrades that will happen in the next generation.</instructions>
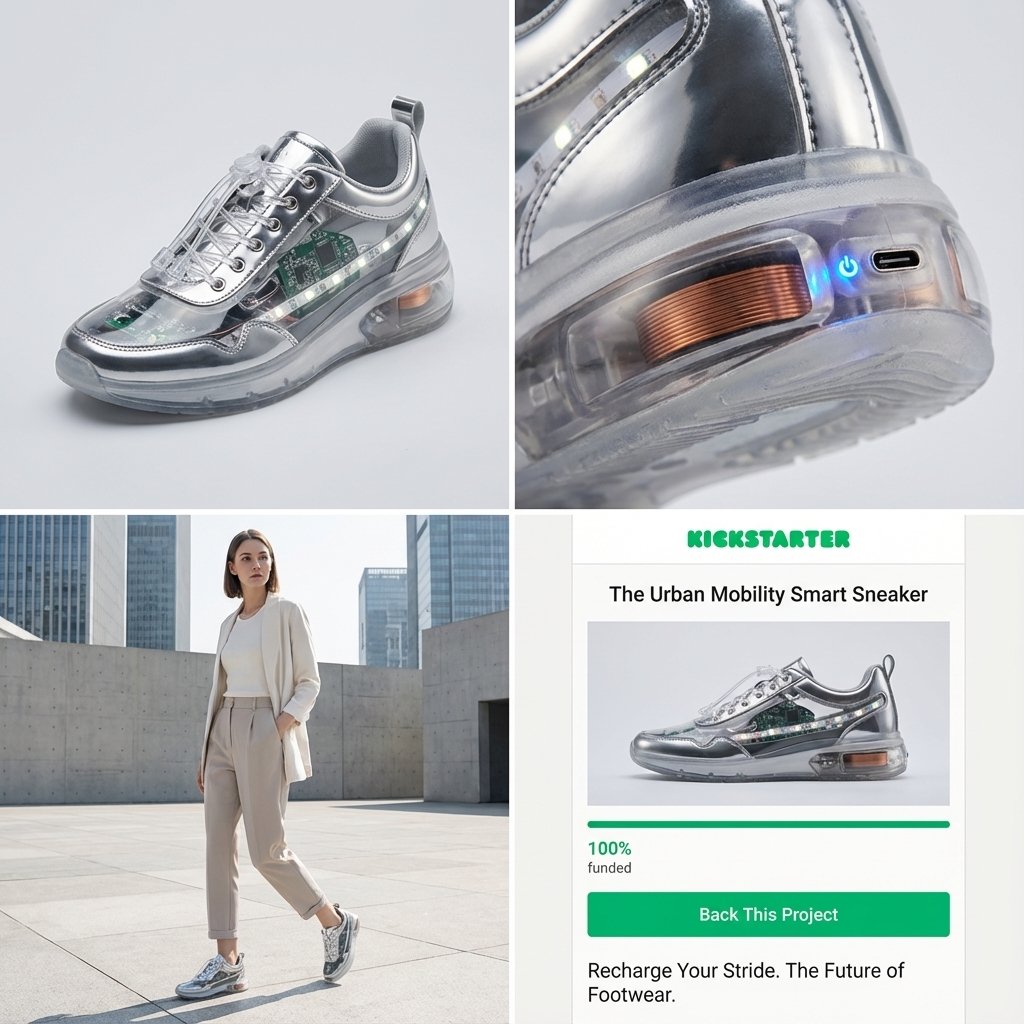
Act as a Senior Product Designer and Crowdfunding Campaign Manager. 1. ANALYZE INPUT Look at the attached image. Determine the material properties (Soft vs. Hard), the primary colors, and the texture. 2. AUTO-SELECT SMART WEARABLE Use this logic to choose the product category. The goal is Clean Modern Tech, not Cyberpunk. IF the input is Soft or Fabric-like ({argument name="soft input examples" default="Ramen, Towel, Moss"}) GENERATE: The All-Climate Smart Jacket. Features: Self-regulating temperature control, hydrophobic coating based on the input texture, and hidden magnetic pockets. IF the input is Rigid, Boxy, or Container-like ({argument name="rigid input examples" default="Toaster, Book, Suitcase"}) GENERATE: The Ultimate Commuter Backpack. Features: Integrated power bank with solar coating, anti-theft biometric zipper locks, and organized modular compartments. IF the input is Mechanical or Footwear-shaped ({argument name="mechanical input examples" default="Stapler, Car, Tool"}) GENERATE: The Urban Mobility Smart Sneaker. Features: Energy-returning sole technology, step-tracking sensors embedded in the heel, and auto-tensioning laces. 3. EXECUTE VISUALIZATION (2x2 GRID) Generate a single image split into a precise 2x2 grid layout. Top Left Panel (Hero Shot): A clean, studio-lit 3/4 angle view of the product on a white or light grey background. It must look refined and manufacturable, using the texture of the input image as a premium material. Top Right Panel (Detail Shot): A zoomed-in macro shot focusing on a specific high-tech feature (e.g., a USB-C port, a magnetic buckle, or a waterproof seam) that shows off the input texture quality. Bottom Left Panel (Lifestyle Shot): A photorealistic shot of a fashionable model wearing the item in a clean, modern city setting (daytime). They look comfortable and stylish. Bottom Right Panel (Campaign UI): A mockup of a Kickstarter campaign page. It should show the product title, a green progress bar at 100% funded, and a bright green button that says Back This Project. Overall Style: High-key lighting, soft shadows, 8k resolution, commercial product photography, minimalist design aesthetic.
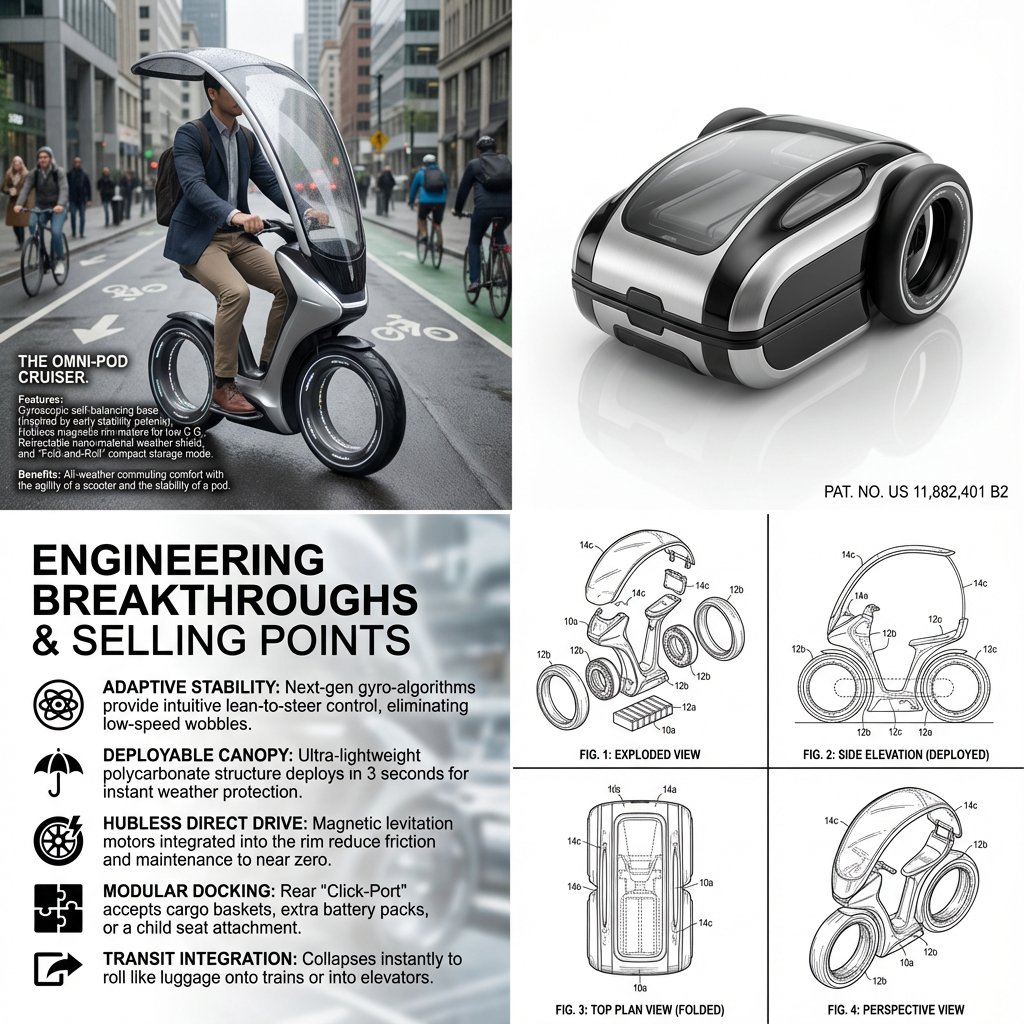
<instructions> Step 1: Analyze urban mobility rides and vehicles and 5 relevant patents from the past. Step 2: Learn about their features how they can be combined, what can be inspired by them, how the patents can be integrated Step 3: Design a hybrid transportation device that combines the main selling points of all these ideas into a feasible product. Output: a 2x2 grid, Grid 1 Create a 3D rendering of the hybrid device, showing it in use on a city street, with a detailed explanation of its unique features and benefits. Grid 2 “Now render the final product in glossy Apple-product-photography style on white infinity background with subtle reflection. Add fake patent number in corner.” Grid 3: detailed explanation of selling points like a tech magazine. Grid 4: four clean black-and-white technical patent drawings (exploded view, side, top, perspective) of this new invention in classic patent illustration style. </instructions>
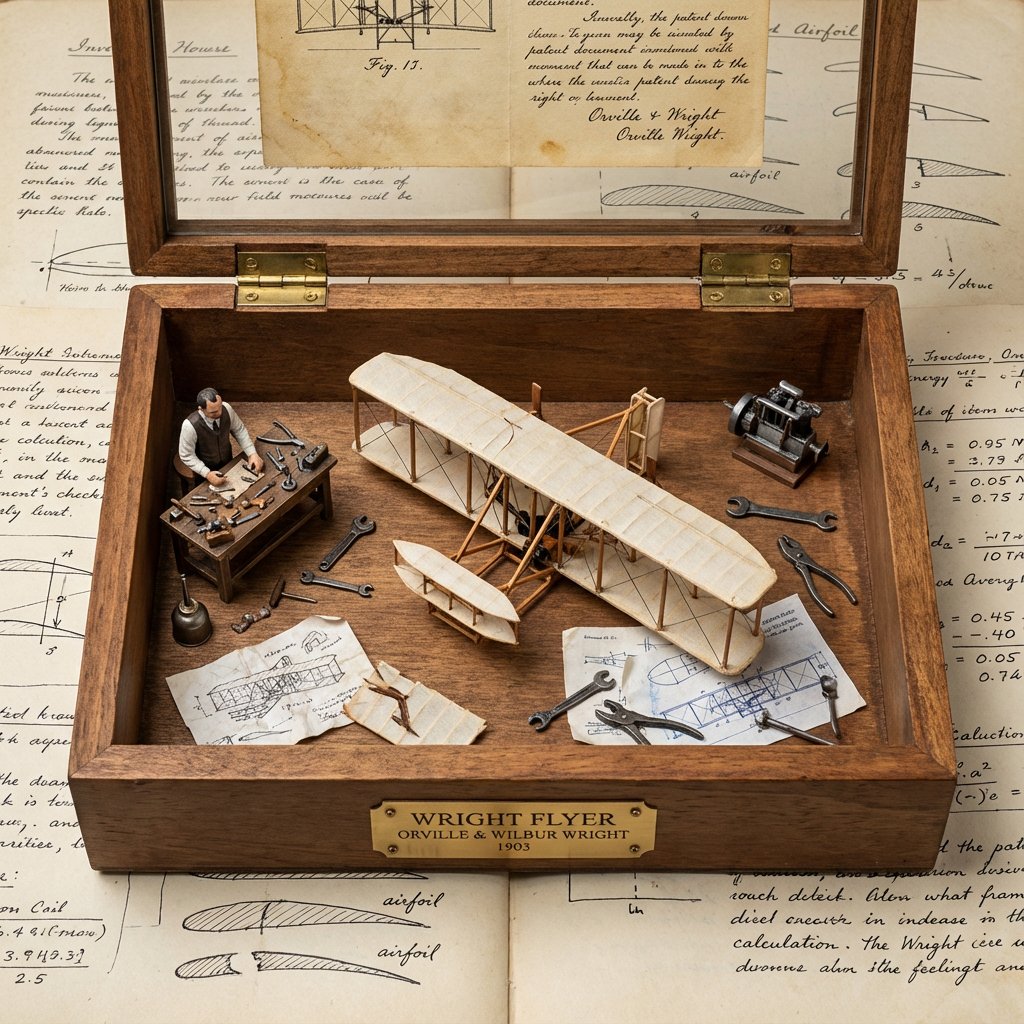
<instruction> Input A is a world-changing invention (photo or invention name). Analyze the inventor, eureka moment, prototype design, and societal impact. Optional Input B is a style reference (patent office / inventor's workshop). If missing, choose steampunk-meets-modern museum aesthetic. Goal: Wooden display box with brass hinges containing the miniature "first prototype" surrounded by inventor's tools, failed attempts, and blueprint fragments. Rules: - Center: tiny working-looking prototype of the invention - Include inventor figurine at miniature workbench - Surround with 10-15 period tools, sketches, failed versions - Add aged paper "patent document" visible through glass top - Materials: dark wood, brass accents, vintage glass - Plaque with invention name, inventor, patent year Output: ONE image, 1:1 inventor's journal aesthetic </instruction>
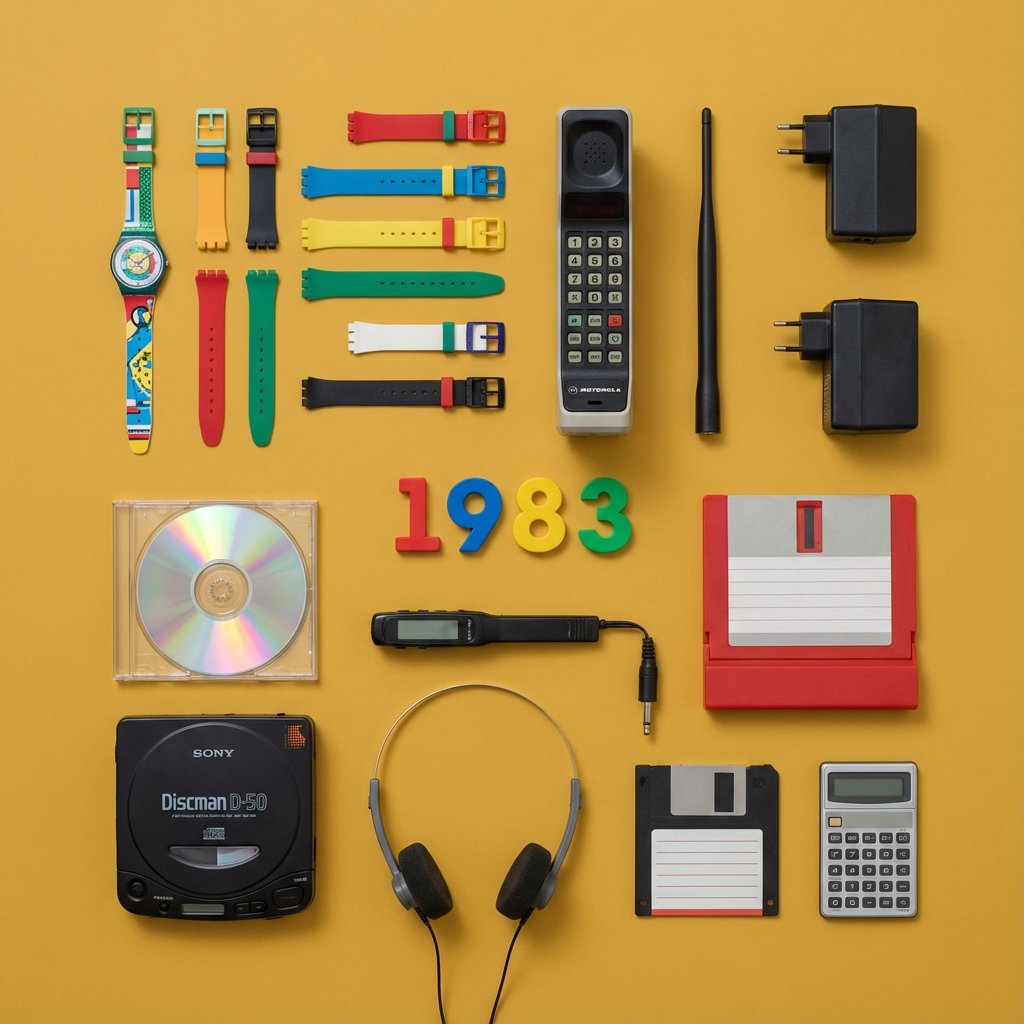
Do this for {argument name="year" default="1983"} > You are a Professional Product Photographer specializing in knolling Flat Lay photography. I will provide a Year or inventor. Step 1: The Selection. > Identify 3 to 5 inventions from that year, plus 5-7 smaller related accessories (e.g., if the invention is a camera, include film rolls; if it's a car part, include a wrench). Step 2: The Layout. Arrange all items on a flat, solid-colored matte background (choose a color that contrasts well with the items). The Grid: Align everything at perfect 90-degree angles. Organize them by size and shape. The Vibe: Deconstructed, organized, satisfying, geometric. The Lighting: Soft, flat, overhead studio lighting (shadowless). Output: A single 4:5 image. The Year (e.g., "1955") should be arranged using physical typography (like metal letters or cut paper) placed in the center of the grid. Style: Wes Anderson symmetry, high-end commercial advertising, vibrant.
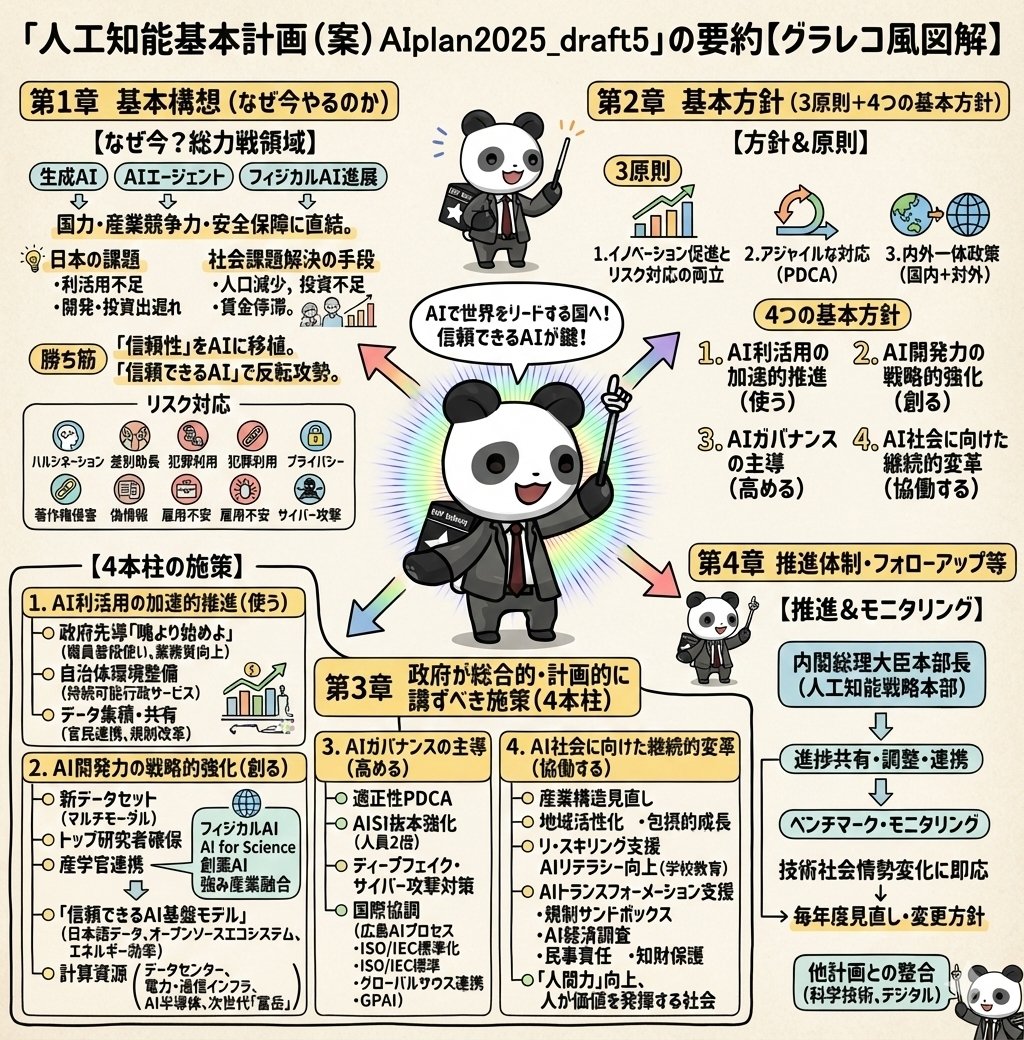
Illustrate this content in detail in Japanese. Make it in a graphic recording style. Make it truly ultra-detailed, even if the text is small. Use the attached image for the character.
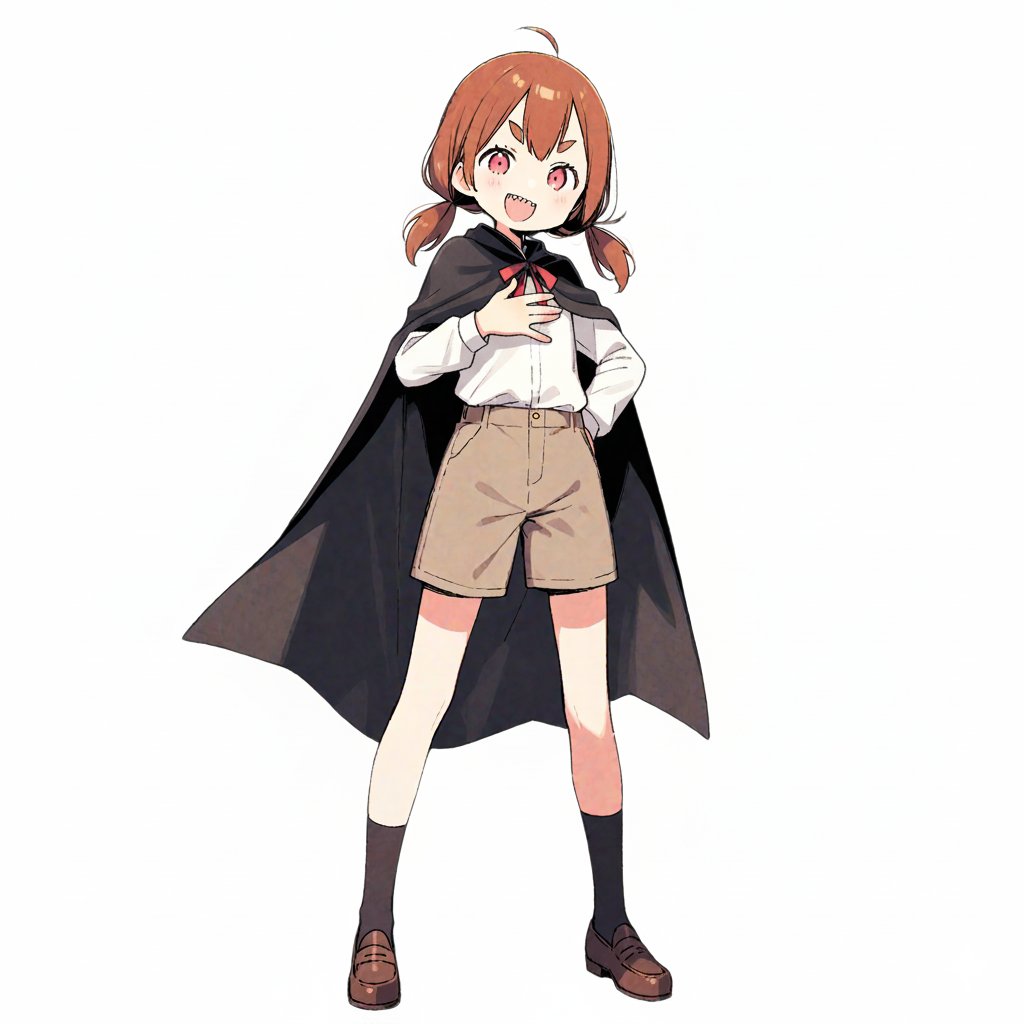
Generate an illustration image in the style of a travel itinerary according to the following requirements. ## 1. Input Settings ** (Please rewrite this section. If left blank, it will be treated as "Leave it to AI")** - **Character Features**: {argument name="Character Features" default="A girl with brown short hair, wearing a black cloak"} - **Name (for Title)**: {argument name="Name for Title" default="Complete Guide to the Donut Museum!"} - **Tourist Destination**: {argument name="Tourist Destination" default="Donut Museum"} - **Schedule**: [ Format: "Time : Place/Action : Short Comment (Situation or Feeling at the time)" ] - **Packing List**: ## 2. Image Generation Specifications You are an illustrator for a travel magazine. Based on the settings above, draw one "hand-drawn travel itinerary" in the following style. **【Style and Composition】** - **Aspect Ratio**: Vertical (Vertical format close to A4 paper ratio) - **Background**: Graph paper (grid notebook) texture. - **Art Style**: Warm, hand-drawn style illustration like the reference image (watercolor, marker, colored pencil touch). - **Layout**: - Place the title prominently at the top. - Timeline composition connected by arrows flowing from the top left to the bottom right. - Memo illustration of the "Packing List" in the bottom right or an empty space. **【Content and Comment Reflection】** - Draw each item in the specified "Schedule" as **5-6 small cut illustrations**. - Maintain **character consistency**. - **Comment Reflection**: - Reflect the content of the "Short Comment" in the schedule in the character's **expression and pose** (e.g., if "delicious," the cheeks should be relaxed; if "excited," the eyes should sparkle). - Place a **handwritten-style text space (like a speech bubble, sign, or writing in the margin)** next to or below each panel for the comment. - *The text in the image must be accurate Japanese. Use a font that looks like handwritten notes.* **【Decoration】** - Overall cheerful and pop atmosphere. - Decorate with masking tape, stamps, handwritten arrows, and musical note marks.
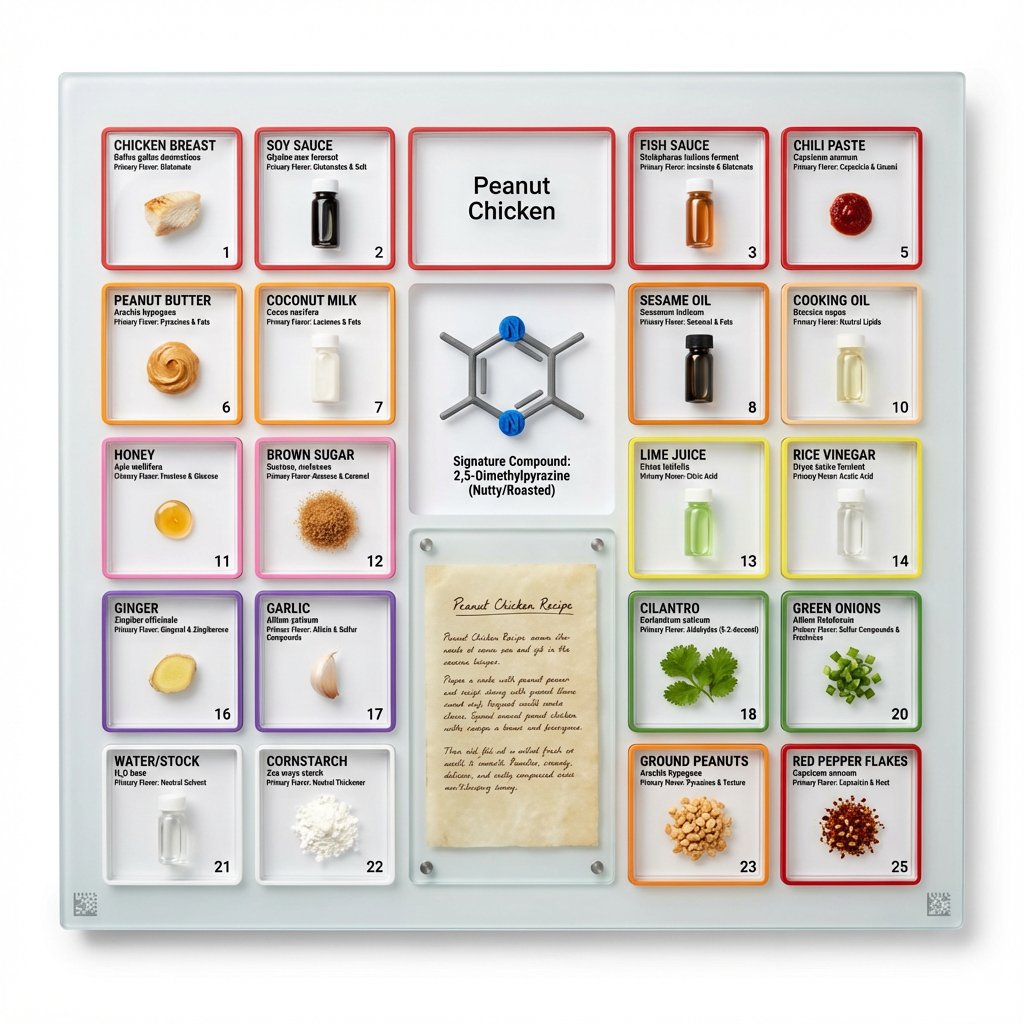
<instruction> Input A is a famous dish (photo or dish name). Analyze the dish's complete ingredient breakdown, primary flavor compounds, chemical interactions, and scientific basis for why ingredients work together. Optional Input B is a style reference (laboratory equipment / tech product packaging). If missing, choose scientific periodic table meets Apple product design aesthetic. Goal: Grid-format display board (20"x16") in periodic table structure, with each ingredient in its own compartment labeled with both culinary and scientific information, color-coded by flavor profile. Rules: Brushed aluminum, white acrylic, or frosted glass backing 20-30 small clear compartments in periodic table grid layout Each compartment contains: ingredient specimen, common name, scientific name, primary flavor molecule Color-coded borders: umami (red), sweet (pink), sour (yellow), bitter (green), fat (orange), aromatic (purple) Center "legend" section: 3D molecular structure diagram of signature compound Lower corner: actual handwritten recipe on aged vellum or parchment under glass AR markers for scanning to see animated 3D molecule models Clean sans-serif typography (like Helvetica or Futura) Minimal design with generous white space Include atomic-style "numbers" for each ingredient showing ratio/importance Output: ONE image, 4:5 clean product photography style with soft shadows on pure white background </instruction>
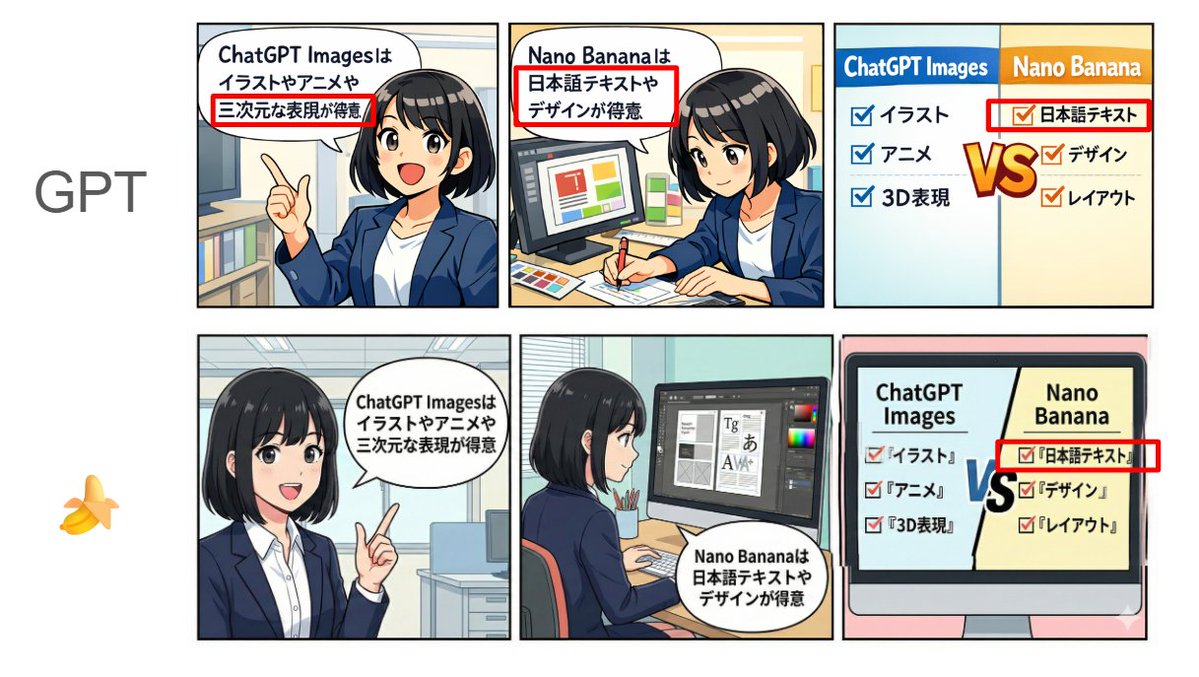
[Format] Horizontal 3-panel manga (left to right). Anime style + pop. Bright color scheme. Clean lines. Simple office background. [Characters] Emma (20s female, black bob, white shirt + navy jacket, expressive face). Consistent appearance across all panels. [Text] Japanese text displayed clearly and legibly. No typos, garbled characters, or broken text. Use the following text in the speech bubbles "exactly as written": Panel 1 (Left): Emma is explaining while pointing. Speech bubble text (exact match): "{argument name="Panel 1 Text" default="ChatGPT Images is good at illustrations, anime, and 3D expressions"}" Panel 2 (Center): Emma is doing design work (layout and typesetting). Speech bubble text (exact match): "{argument name="Panel 2 Text" default="Nano Banana is good at Japanese text and design"}" Panel 3 (Right): Comparison panel. Split the screen left/right, with headings "ChatGPT Images" on the left and "Nano Banana" on the right. Include checklists for each (in Japanese, short, and readable). Left (ChatGPT Images): 'Illustration', 'Anime', '3D Expression' Right (Nano Banana): 'Japanese Text', 'Design', 'Layout' Also, place a large "VS" in the center to compare the two compositions. [NG] No unnecessary text, arbitrary English additions, watermarks, signatures, unreadable text, or broken Japanese. [Image Quality] High resolution, sharp, suitable for SNS posting.
Some prompts are collected from creators on X. Copyright belongs to the original authors.